About the Project
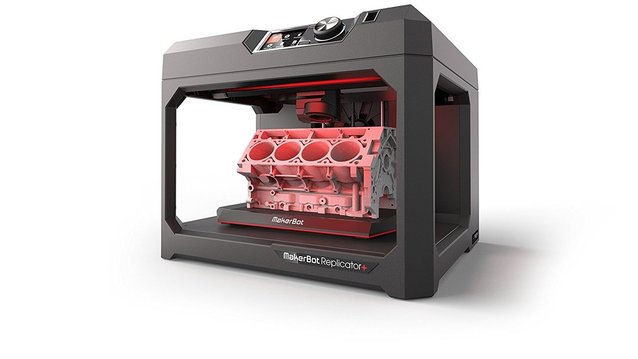
As explained on my Inventor page Inventor is a design software used for engineering and 3D designing of objects that can later be 3D printed. The 3D printing software we use is Makerbot which is required if you need to 3D print an object. 3D design can be used for many things and this time I used it to make a coin organised that can hold 50 pennies and dimes and 40 quarters and nickels. I wanted to do a coin organizer because I have a lot of spare change that is just lying around and I wanted a place to put it. I thought of a couple of designs, one was a simple circular design that I had seen a lot of people had done before and the other was a more rectangular design that I instantly liked better.
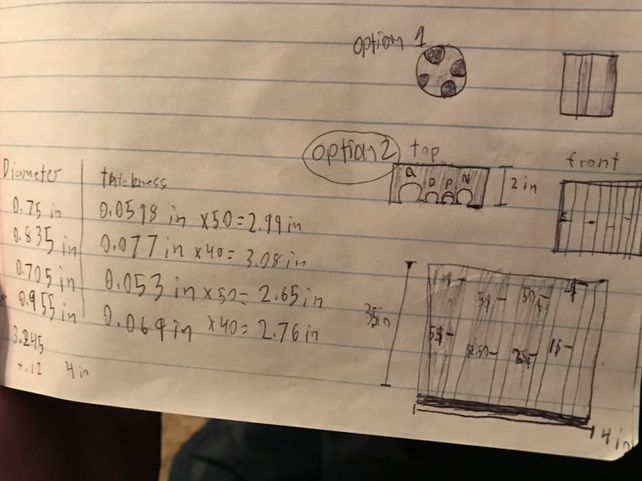
Notebook Sketches

Inventor Step by Step
1. Start a 2D sketch on Inventor
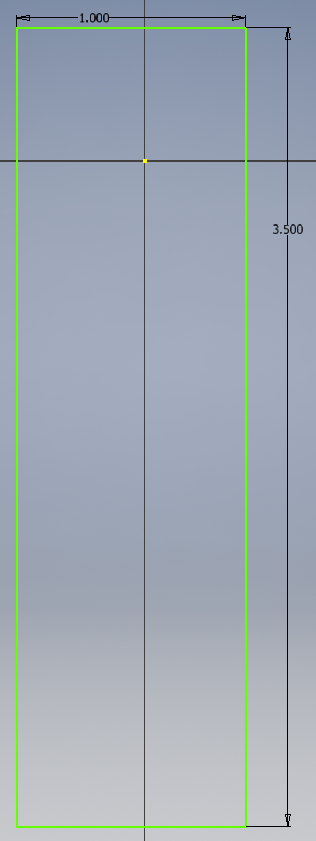
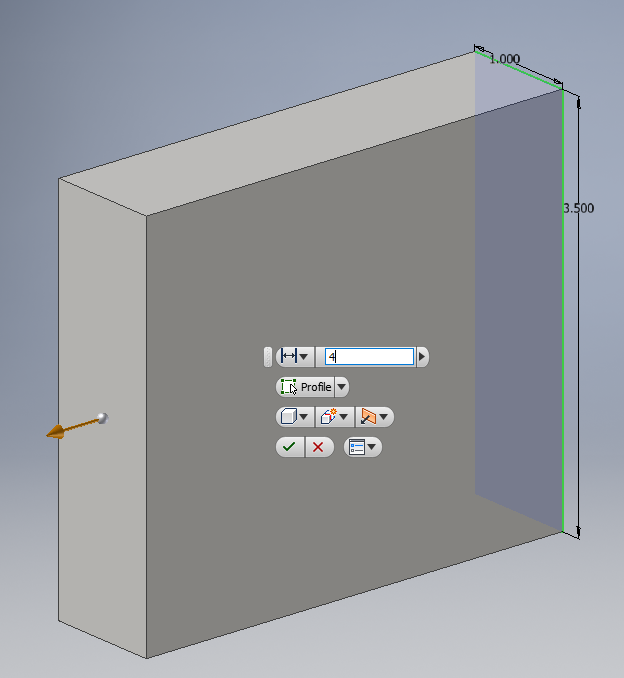
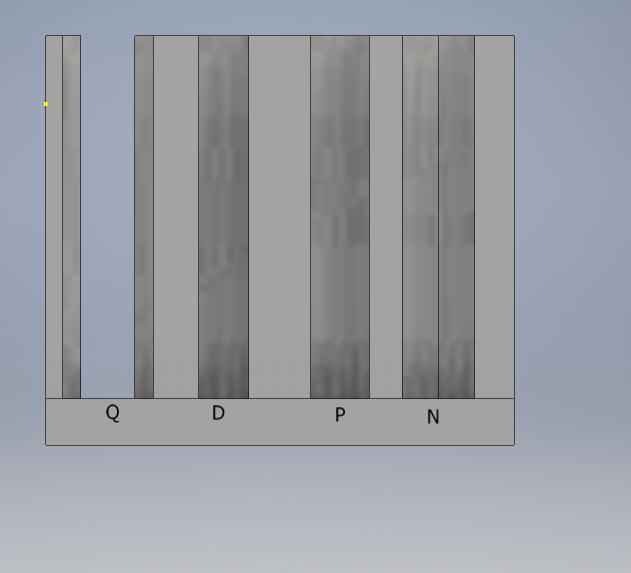
2. Draw a rectangle that is 3.5 in by 1 in
3. Extrude the rectangle by 4 in
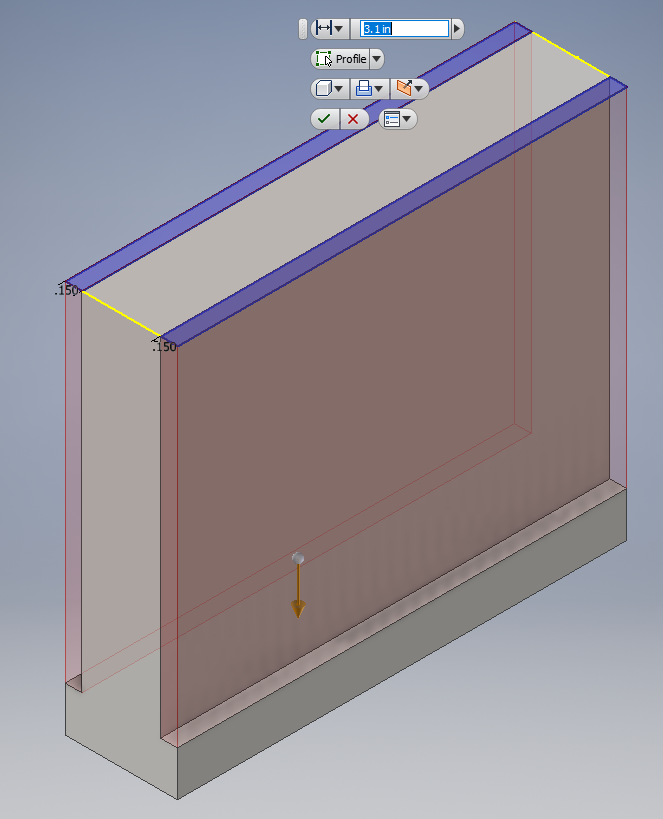
4. to make it so that the coins show on the side take 1/8 of an inch off of each side and make it 3.1 inches deep
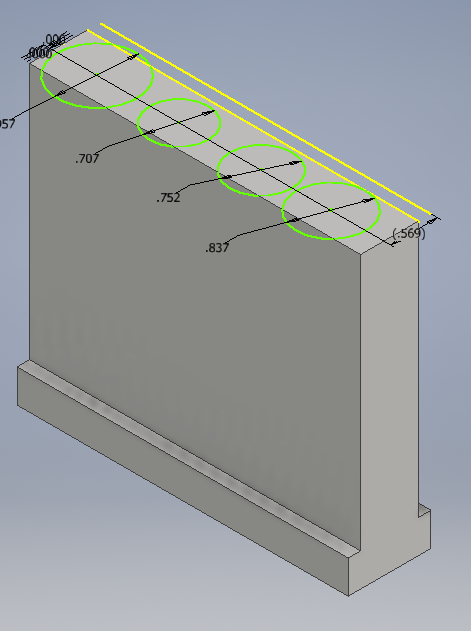
5. Next draw the circles for the coins to go into, they should by a little larger than the coin so the coins don't get stuck in the holder. Add about .02 in to each circle
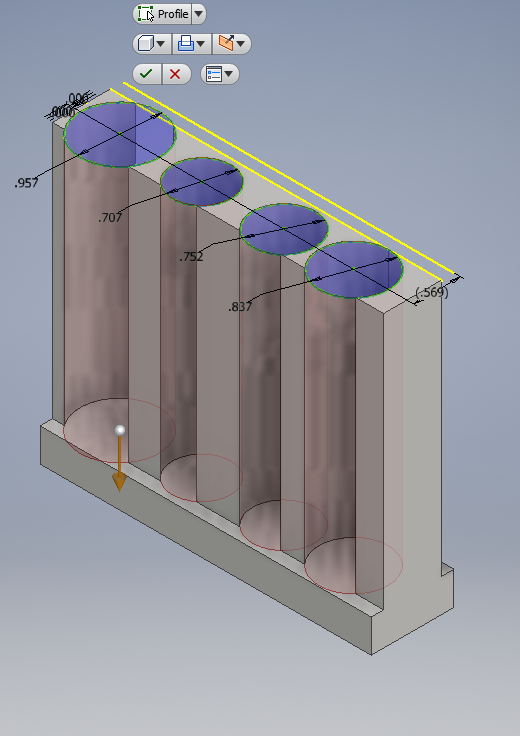
6. Extrude the circles in direction 2 in order to make the holes for the coins
7. Add letters or numbers to represent each coin/ coin value
8. Extrude each letter by .05 in to make them show on the 3D print.
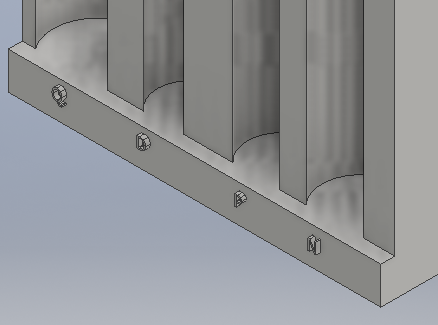
9. (Optional) use the Fillet tool to round the edges of the holder and make it easier on the 3D printer.
2. Draw a rectangle that is 3.5 in by 1 in
3. Extrude the rectangle by 4 in
4. to make it so that the coins show on the side take 1/8 of an inch off of each side and make it 3.1 inches deep
5. Next draw the circles for the coins to go into, they should by a little larger than the coin so the coins don't get stuck in the holder. Add about .02 in to each circle
6. Extrude the circles in direction 2 in order to make the holes for the coins
7. Add letters or numbers to represent each coin/ coin value
8. Extrude each letter by .05 in to make them show on the 3D print.
9. (Optional) use the Fillet tool to round the edges of the holder and make it easier on the 3D printer.

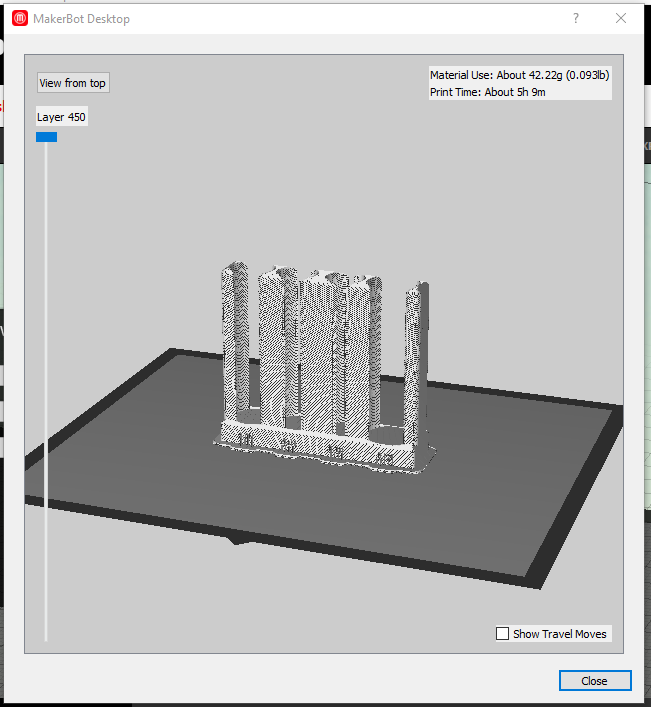
Makerbot Setup and Preview
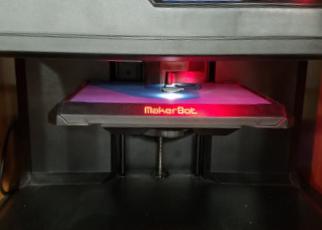
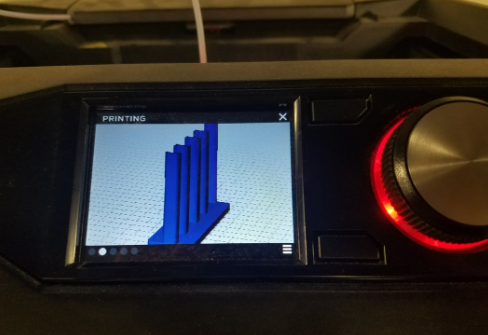
Coin Holder Being Printed
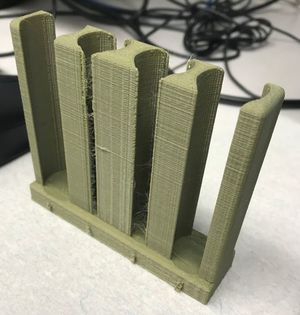
My Finished Coin Holder
Throughout this project I have learned that Inventor is useful for much more than just simple widgets. I learned that you can create virtually anything that you want to as long as you have the time to create it. I chose to make a coin organizer which ended up working perfectly. This is also our first project so far with both function and quality design, I enjoyed the process of brainstorming and sketching ideas in order to end with the best possible project. I also really enjoyed designing this project and it was the first project so far where I was actually excited to see the end result.
