Illustrator is a software developed by Adobe that aids in making 2 dimensional pieces of art and designs. These designs can be exported onto software and used for laser engravings and vinyl decals. I used the Illustrator software both for laser engraving the tiger you see below, and for creating vinyl decals such as my name we created for the notebook. You can use a combination of shapes, font, and images to create almost any design you can think of.
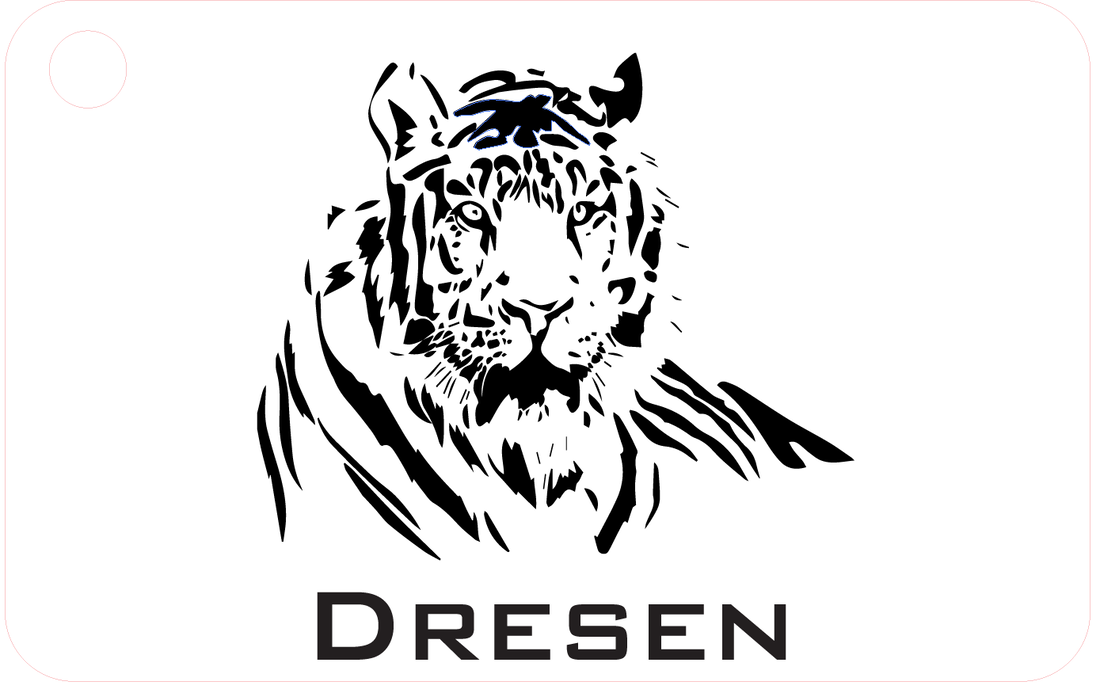
Here is the Illustrator file I used to create my key chain
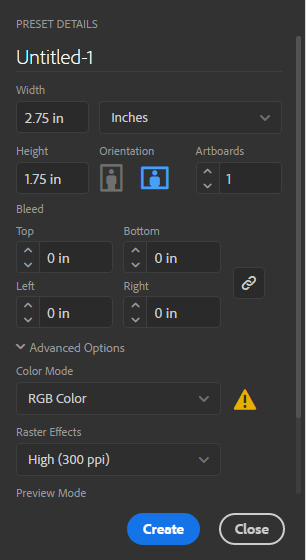
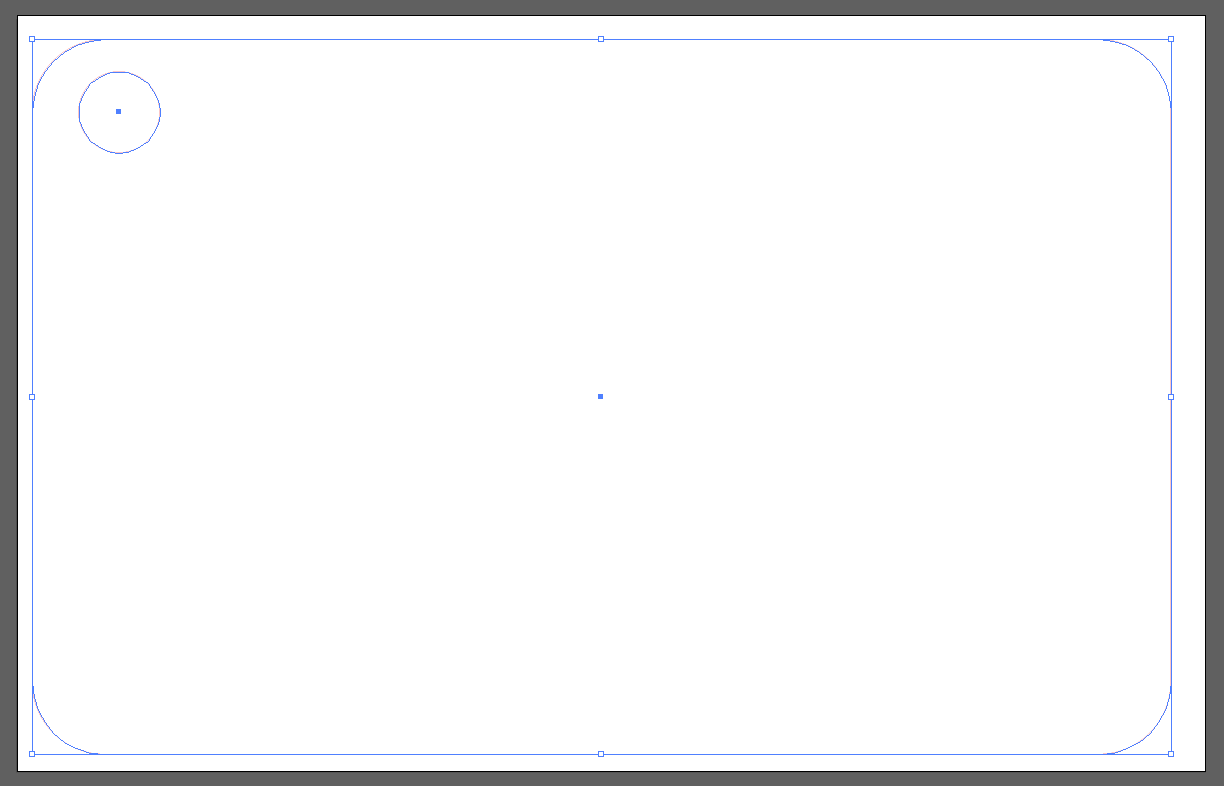


1. Start by creating the Illustrator file and changing the unit to inches and dimension it to be 2.75 inches by 1.75 inches in a portrait orientation
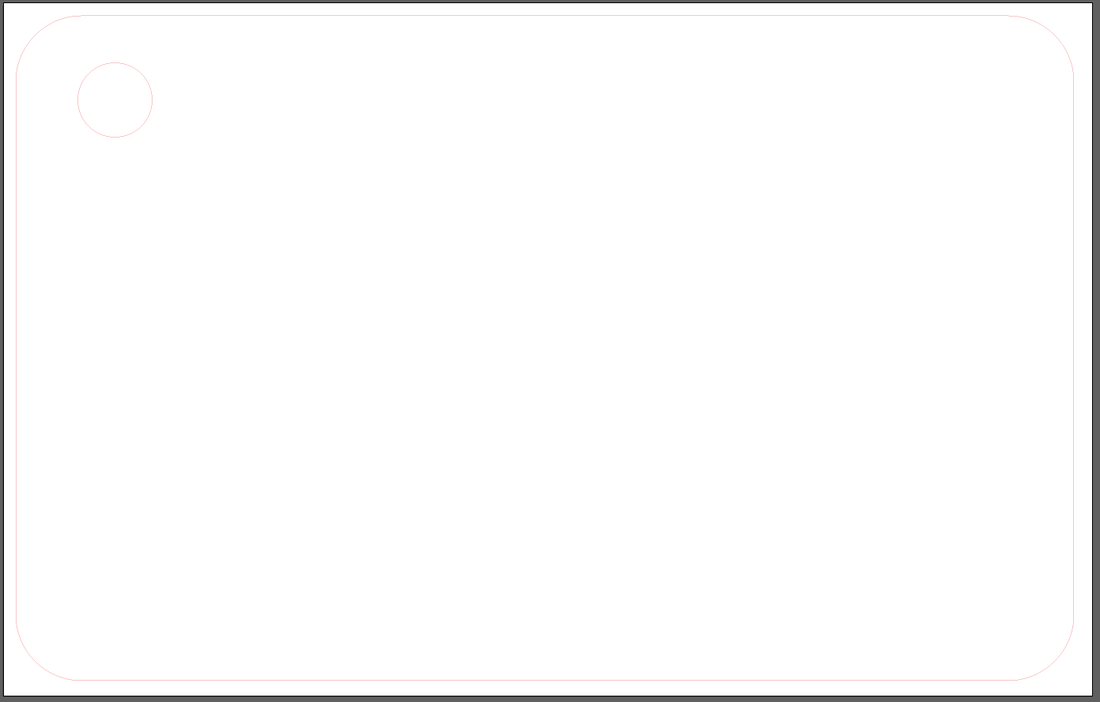
2. Then click create and there should be a white space to begin working in. Also make sure that the tool bar on top is enabled, this is enabled by going to the window tab and checking the Control option
3. Before adding a design you must first add a rectangle where the laser will cut out the key chain and a circle in one of the corners for the key chain to go through. Make these shapes in red so that the laser knows to cut along those lines
4. To add text use the Type Tool to add a text box and type what it should say, then change the size while holding shift to keep the scale, and change the font using the top control bar
5. To add an image first find the image you would like to use, then save it on your computer. Next open the image in your Illustator file and size it to what you would like, hold shift to keep the scale, then right click and add outlines to both the image and the text
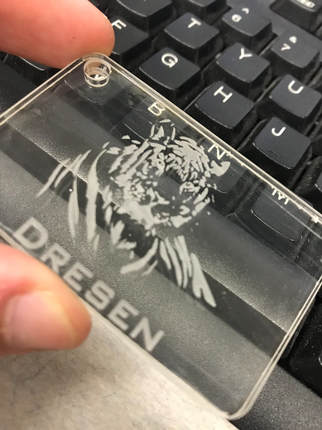
My finished key chain after being cut out
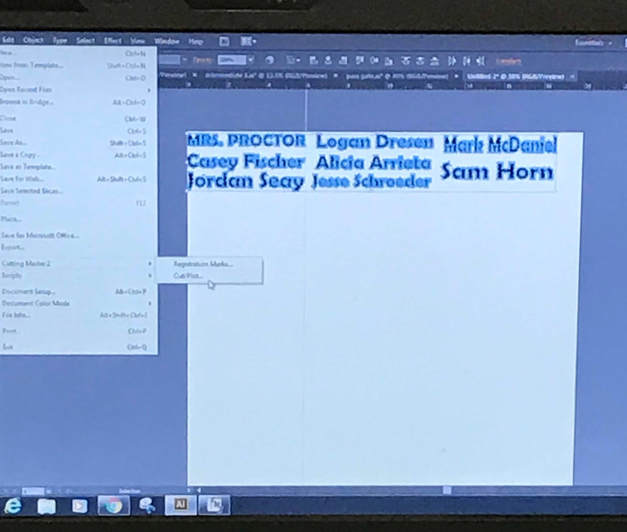
This is the Illustrator file I used for the vinyl decal


1. Open the Illustrator file on the computer with the vinyl cutter attached and make sure to add outlines to the image entered into the document
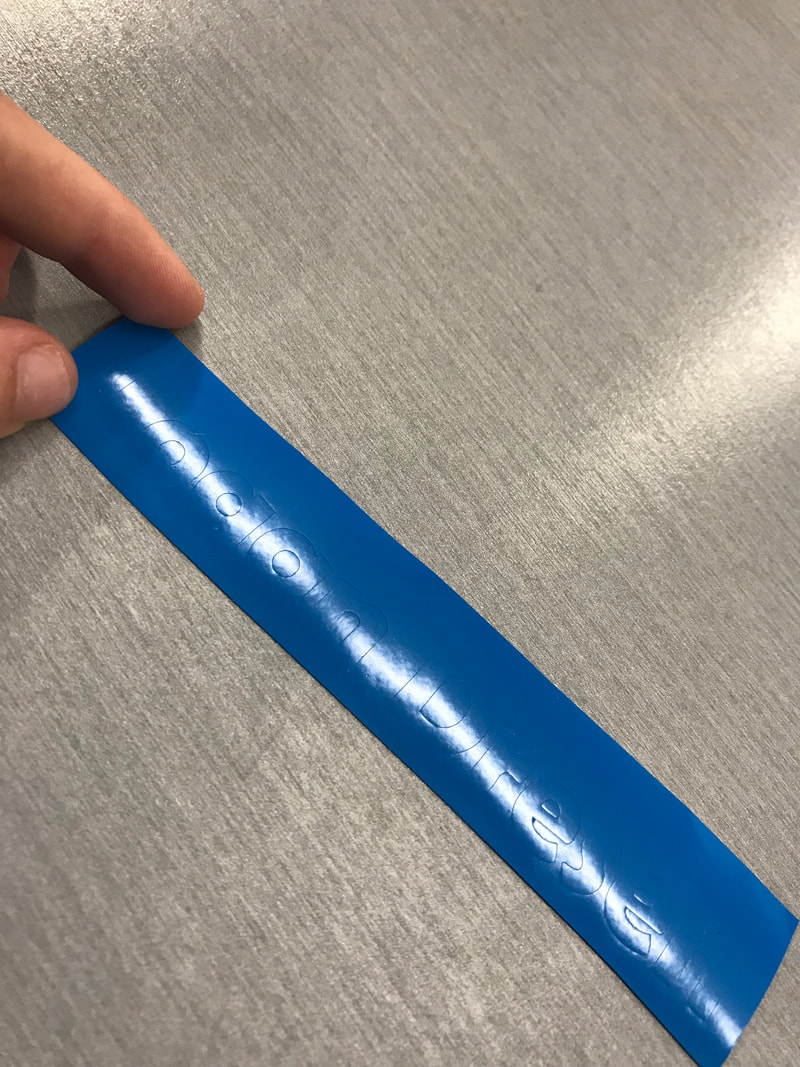
2. After the decal has been cut out remove excess vinyl and inner pieces that are unwanted from around the image
3. Use transfer tape to remove the decal from the paper and carefully peel it off
4. After the vinyl is on the transfer tape apply it to the surface you want it to go on
5. Remove transfer tape and make sure the decal is secure on the surface
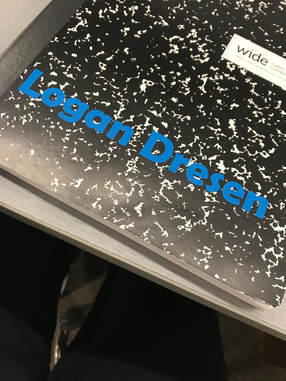
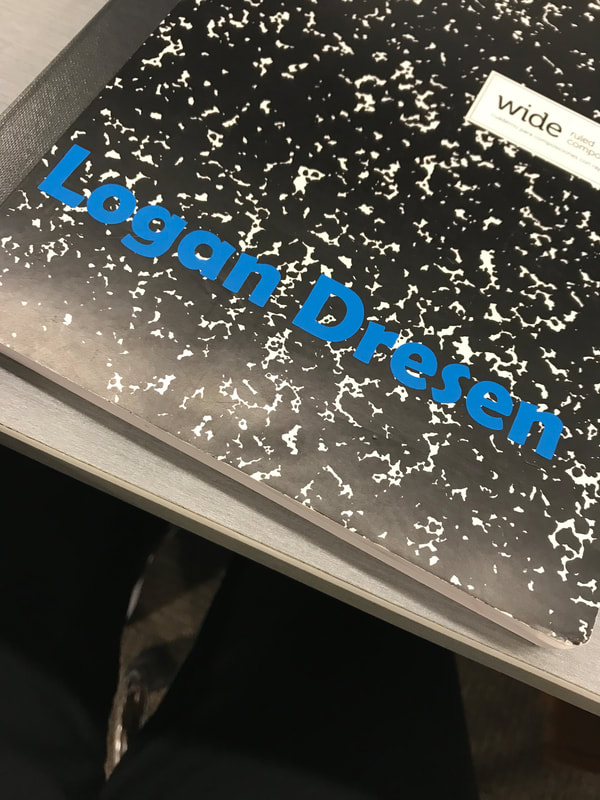
My finished decal
In this introduction to laser cutting, vinyl cutting, and Illustrator I learned a lot about 2-dimensional design and I can now use illustrator at an introductory level. I learned how to operate the laser, and I can now engrave and cut any 2D design I can think of. I also learned how to use the vinyl cutter which I can now use to create a decal for any surface I can put one on. All in all I am much better at using 2D design software and operating the vinyl and laser cutters.
