How the Clock Came to be
Originally I had no idea what I wanted to do as the design for my clock, but then I was looking at someone who did the American flag as their design and I thought I wanted to do a map of America. After some time though I realized that it would be a lot better if I did the whole world instead of just America. Then I began designing, I started with the clock face, it was 12 inch diameter circle and wasn't anything special. I cut it out on the laser which took a lot longer than I expected it to. Then I moved on to the back of the clock, I was originally going to have a border around my clock but I decided not to. I made the backing on Inventor and I decided to use the 3D printer to make it. Next I found a world map on google and imported it into Illustrator and finally I cut out my decal for the from of the clock. Then I assembled my clock and it fit perfectly.
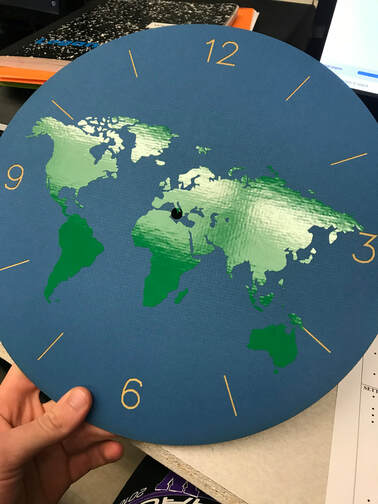
My final clock after being assembled
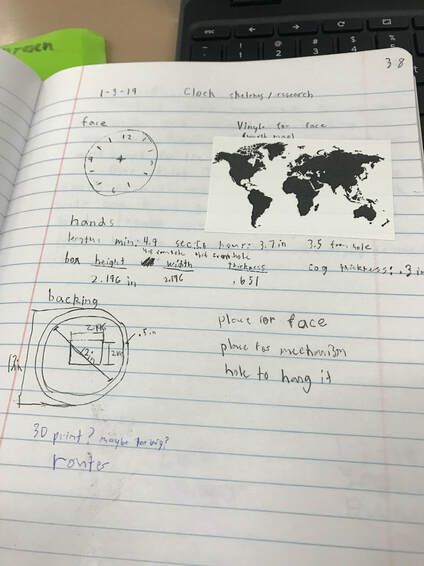
My sketches of the idea
The Parts of the Clock
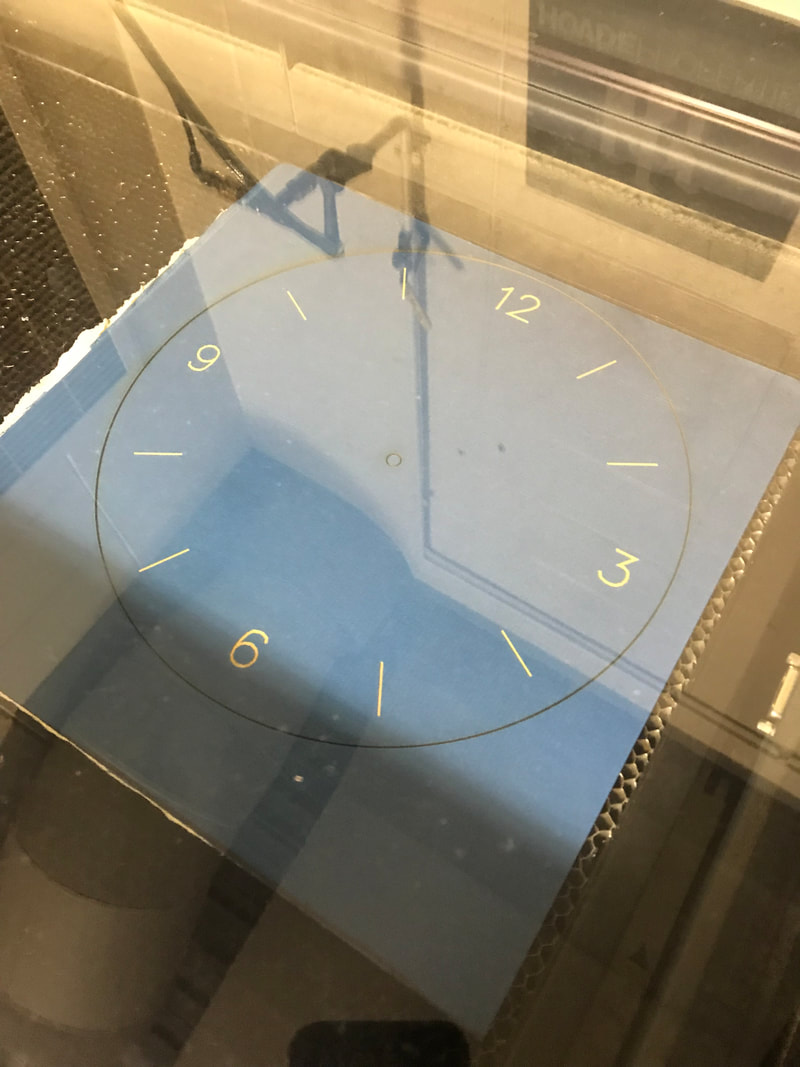
The face made on the laser
|
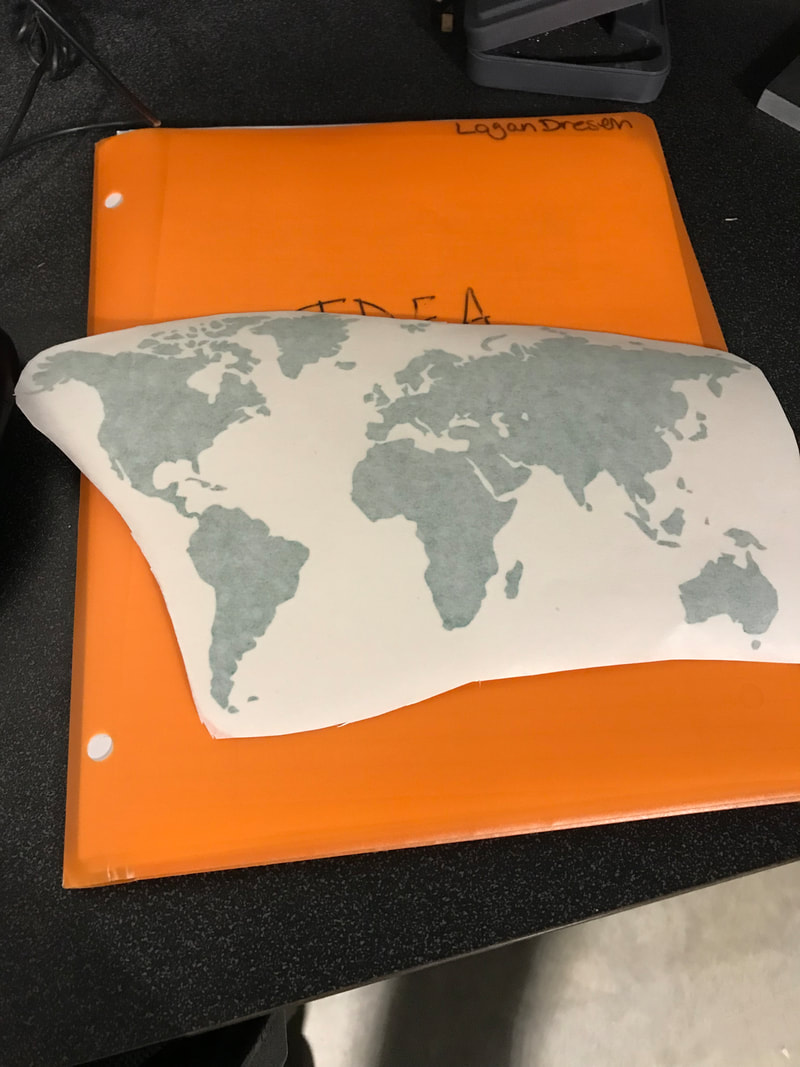
The decal made with the vinyl cutter
|

The clock stand being printed
|
How it all went together
I started by cutting the vinyl, I used green vinyl for my map to make it look more like a globe. Then I found a sheet of blue mat board and I cut out and engraved my clock face using the laser. Then I set up my backing on inventor and used the 3D printer to finish my clock.
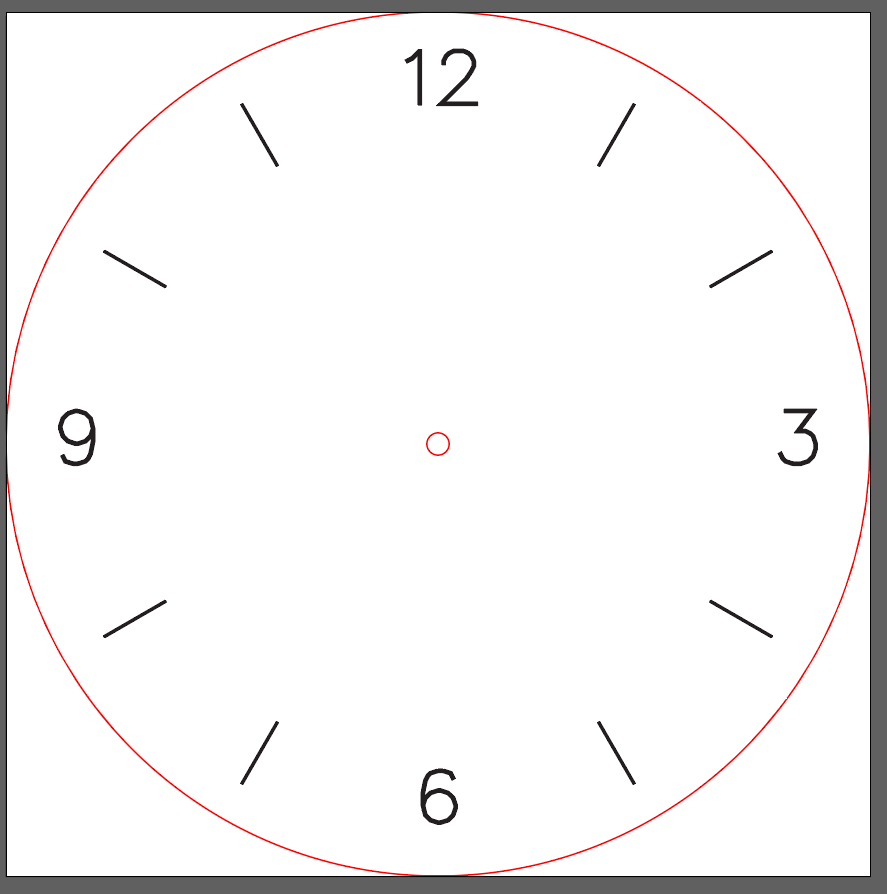
Illustrator document for my clock face
|
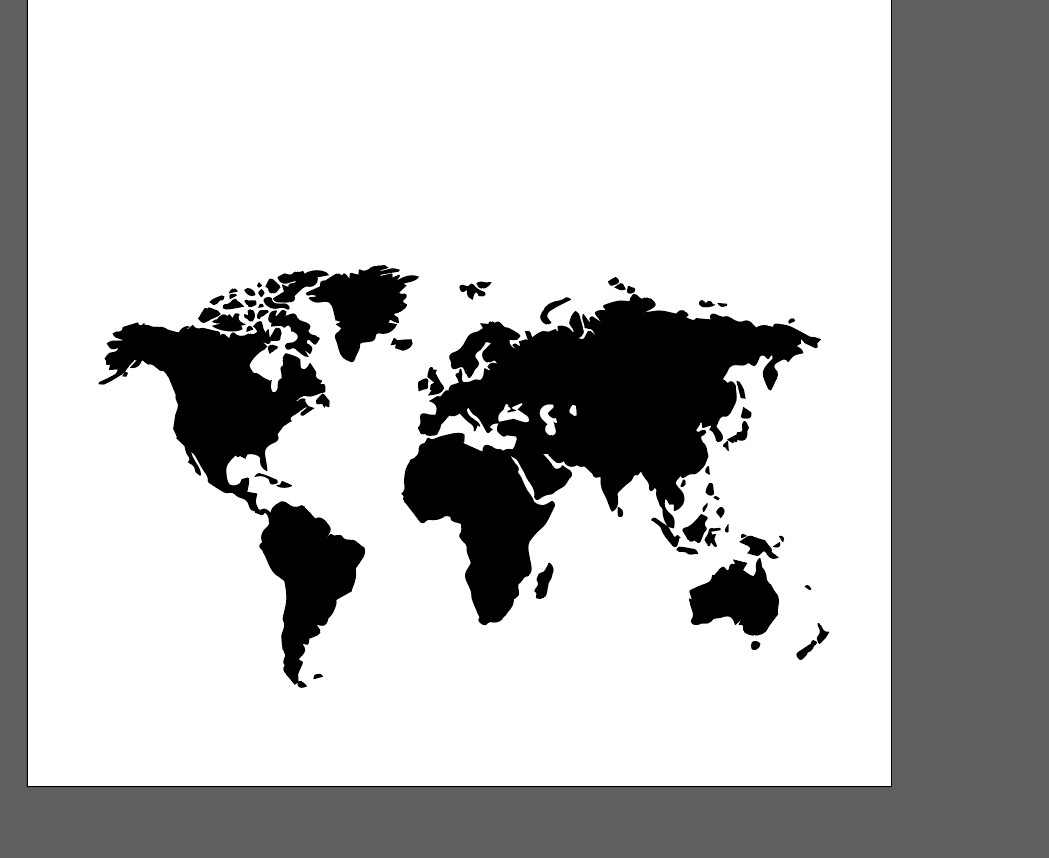
The illustrator document for my decal
|
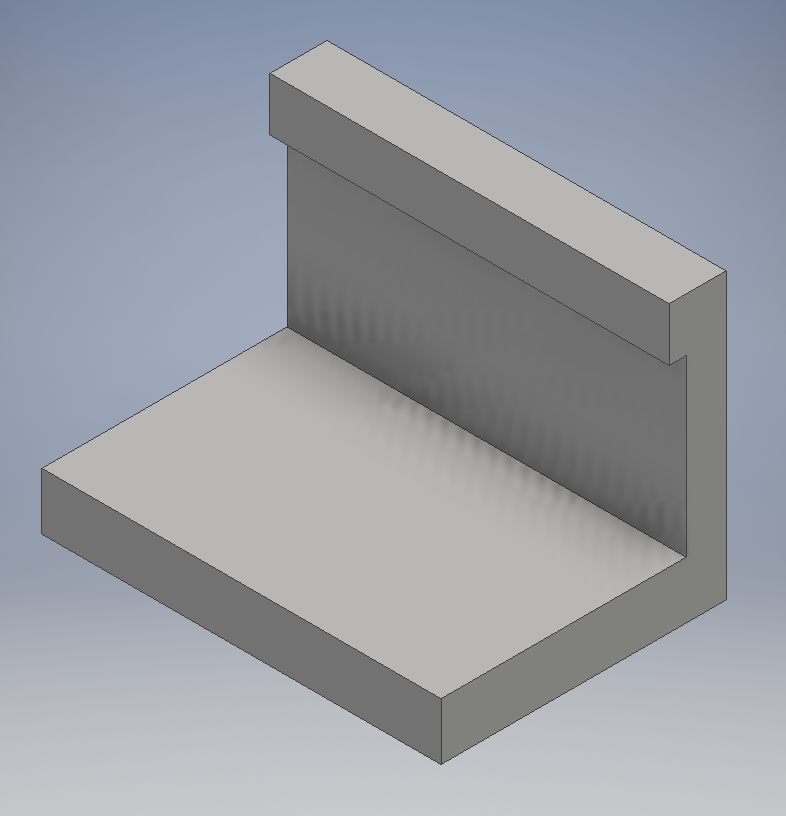
my clock standon inventor
|
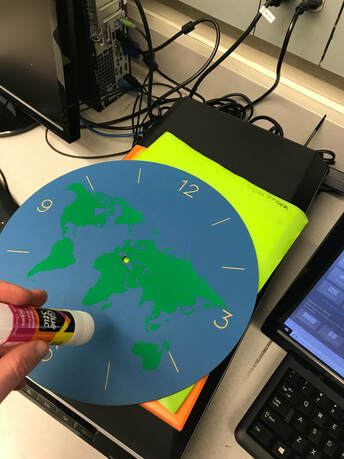
Here's me putting the finishing touches on my clock.
Summary
Overall the clock project was a big one and it came down to the last minute of class but in the end all the hard work was worth it and I finished my clock. The beginning was easy because I was able to get a spot on the vinyl cutter withing a few minutes of class starting. The laser was a little harder because it took two classes and a contact time to get a spot on the laser. In the end I was able to get my backing set up and printed and finish the project.
